Showing posts with label Homemade Stuff. Show all posts

Thursday, June 28, 2012

Meet Golda

So, I've been doing little things for myself this week leading up to my 30th birthday & yesterday it was my creation of Golda.

All you need to create a Golda of your very own is a can of gold spray paint, a $1 store pink yard flamingo, & dead grass to spray paint on.


And voila, meet Golda (after the once Prime Minister of Isreal, Golda Meir)
If it were possible for a yard flamingo to be classy Golda would be it.

Tuesday, June 26, 2012

HOW TO: Easy Flower Crowns & Easy Customizable Fans


It's so easy you brilliant people don't need a tutorial but someone asked me how I did the crowns & fans for our Summer Solstice Celebration. Plus, I want to show, like many things on my blog, how you can make fancy "seeming" recipes/DIY activities/ crafts that aren't fancy at all. 'Cause that's the way I roll.

FLOWER CROWNS:

I bought flower wire from the craft section at Jo-Anns. I kinda wish it was thicker & if you have the option of thicker wire (but still super bendy) do it. I got all the flowers at our local Dollar Tree (because the same flowers are like $6 a pop at Jo-Anns). And hot glue (my best-crafting-friend).

I took the wire, measured it around my head, twisted it & then twisted a second time all the way around to give it some thickness (again, it was REALLY thin wire- so easy to work with but thin).

Then I took apart the flowers & leaves from the stems. You could easily make a crown with just flowers & no leaves but I loved the way it looked with flowers & leaves (and much more summery).

Then just kind of glob the glue on there and stick in on (I started in the center & worked my way around each side). It's gonna look like a hot mess when you start but once it's all on there I promise it looks great.

Put on the glue & held it for a second, blowing on it. Then I set it down to dry (on a cardboard box in case it sticks) & then added the flowers along the edges.

I went for a more random sort of look but it could be great with one kind of flower, super symmetrical, & I even made a cute all leaf one fore Rob. I also made one on a headband for Syd which was cute but sits up higher on your head- more a Frida Kahol look.

Wear it proudly & feel super pretty (or handsome as the case may be).


FANS:

I have a collection of paint stirring sticksfrom various home projects & they were perfect for the handles of the fans. I bought a mini can of gold spray paint & painted them (it took less than a minute & it drys SO fast).

Since we were doing an evening party I opted for a "summer night sky map" & then prettied it up (in "Paint" mind you, no fancy "Photoshop" here) with gray & yellow.

Then I found a quote (Thank you, Pinterest) about stars on the other side. It turns out this quote isn't from Galileo but rather from this lovely poem "The Old Astronomer" by Sarah Williams.

I printed them off on heavy paper & hot glued them to the stick and then hot glued them closed. Then I just rounded off the corners.

Ta-da! They could be customized for any kind of party- for a wedding with ceremony info on it, for an auction (as the paddles), with your babies face on it for a b-day party. The ideas are endless & I will SO be using this idea again.

Email or leave a comment if you have any questions!

P. S. After I painted the sticks I walked all around the house trying to find stuff to paint. I ended up with just a couple mason jars (which I am SO in love with). But watch out or everything in your house may end up spray painted gold.

Wednesday, May 2, 2012

HOW TO: Birth Annoucements


1. When making a small amount of invites I love the extra touch of lined the envelopes:


2.
I'm sure you guys already know, & are much more talented at Picassa, but for those that want a little basic info here's how to did the lined & tilted lettering on the pictures. Sorry it's totally messy looking (I printed them at CostCo):


3.
Write a family letter.

4. I wish I had instructions on how to do this but Scott is my Photoshop Wizard. Maybe I'll have him do a "guest post" one of these days on some basics of editing in Photoshop. But let's just look at the magic of taking two pics & making them one. (the only way we can get a good family picture these days):
Link
5. I love, love, love the new trend of Washi Tape (or paper tape). Here's the one I got. A couple of my other favorites: here, here, & here.

And TA-DA! Birth announcements complete! Hope this helps you get your own creative juices going! Any questions?

Lincoln Birth Annoucements


Behold, Lincoln's birth announcements (also sort of a Christmas card too).
Finally done.
After, you know, almost 3 months.

But don't look too close- I put his wrong weight.
I'm seriously brain dead these days.
You'll get yours soon-ish.
I hope.

P.S. Here is the "how-to post" about the process of making them. A friend of mine was wondering how you could make picture invites like this without using Photoshop so I hope this helps!

Tuesday, February 14, 2012

Kiddos Valentines

1) Syd's Valentines: She's ga-ga for friendship bracelets so we made each kid in her class a custom one. She (and they) loved them! She helped with a couple, but I finished them off on my own during good ol' "Downton Abbey".


2) Rob's Valentines: Rob picked out toy cars for everyone in his class & he was impossible to get a good picture of in his "racer" hat, but he did have a blast helping with them & passing them out.

Wednesday, December 14, 2011

Christmas Hair

Syd has has yet another "Spirit Week" this week (here's the result of her last Spirit Week & the last hair day). This time it's "Christmas Spirit Week".

Yesterday was "Christmas Hat or Hair Day". Here's the result:


Star Hair. Pretty cool, right? I kind of wish I had a Christmas party I had to go to so I could do this with my own hair. I still might, just 'cause.

I used the extra gold paper from these shower invites & hot glued them to bobby pins. Then used the gold spray I had leftover from this Halloween costume & some Martha Stewart glitter I had on hand.

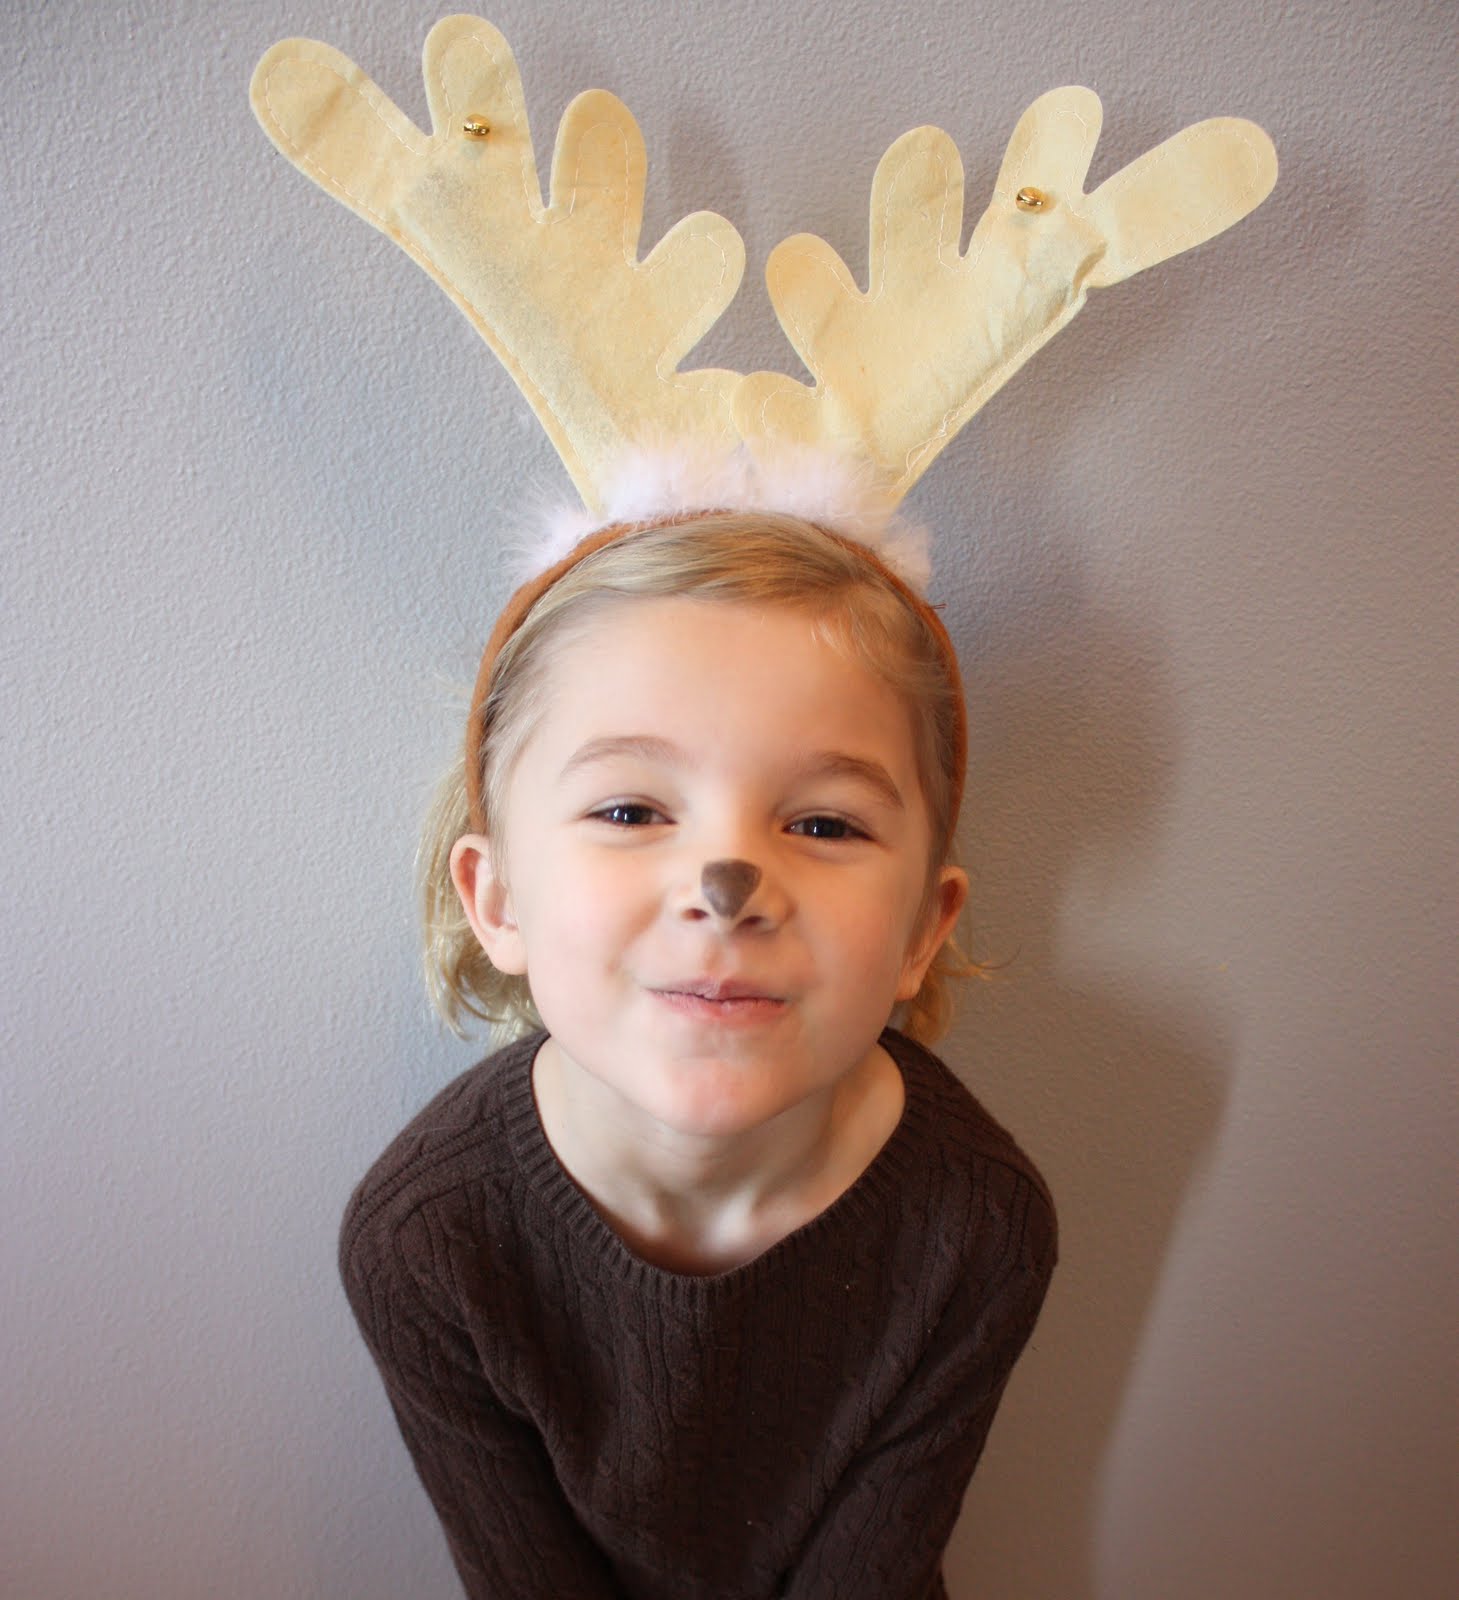
And today here's Syds "Dress as a Christmas Character Day" (we don't have a Christmas costume so we improvised):

Half Birthday Treats!


Rob celebrated his 1/2 birthday in Preschool today. I'm glad that they do that because my June birthday never got celebrated in school, so I'm happy he gets a chance to get a "woot, woot!" too.

So, for the treat he brought in for his friends I let him pick out some little toys & treats from our party store. He ended up with kind of a random collection of goodies but the whole thing screams Rob.

Then I took some pictures of him (as shy as he is, he's a photogenic little guy) & added tags to the top of the baggies.

He gave them to all his little friends in a fit of joy so I feel like I can call that good!

P.S. I am a big fan of using pictures on cards, treats, etc. Here are a couple others I've made: 30th birthday book, homemade Valentines, customized underwear, panty party giveaways, Superhero party invites, & Superhero party cutouts.